Before you open the software: RAW and common sense
Editing starts in the camera. RAW keeps all the color and tonal information, and white balance can be redone with no loss. A JPEG comes out already processed, with the color decided, and loses quality every time it is saved.
But editing can't invent red that never reached the sensor. And there is a limit: if someone looks at the photo and thinks about the editing before the animal, you went too far.
Copy, select, then edit
Copy the card to two places before anything else.
Then come two rounds of selection. In the first, go fast and flag only what has focus and a moment. In the second, compare similar frames and keep one. Check focus at 100%, because on a small screen everything looks sharp.
There is no point working on a photo with missed focus: no edit can fix it.
The order of adjustments
Work from the general to the specific: first the color and light of the whole image, then local adjustments, and last cleanup, sharpening, and cropping. I use Adobe Lightroom. The controls have the same names in Lightroom Classic, so the order works for both.
- White balance.
- Exposure, highlights, and shadows.
- Contrast and tone curve.
- Color by channel, blues and aquas first.
- Local adjustments with masks.
- Backscatter cleanup.
- Sharpening and noise reduction.
- Crop, without cutting off a fin or a tail.
White balance: the adjustment that removes the blue
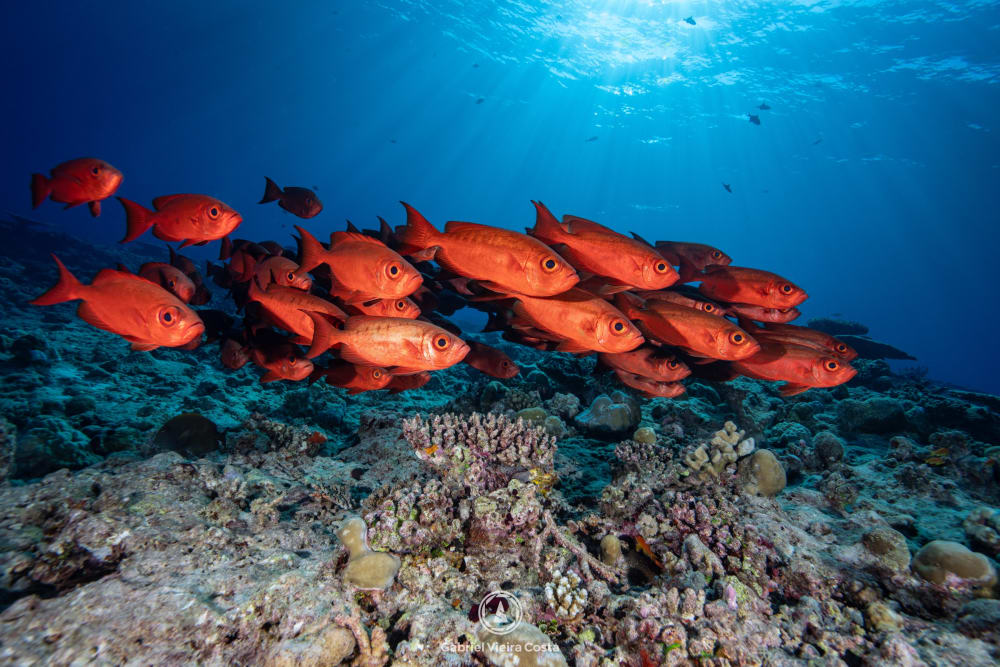
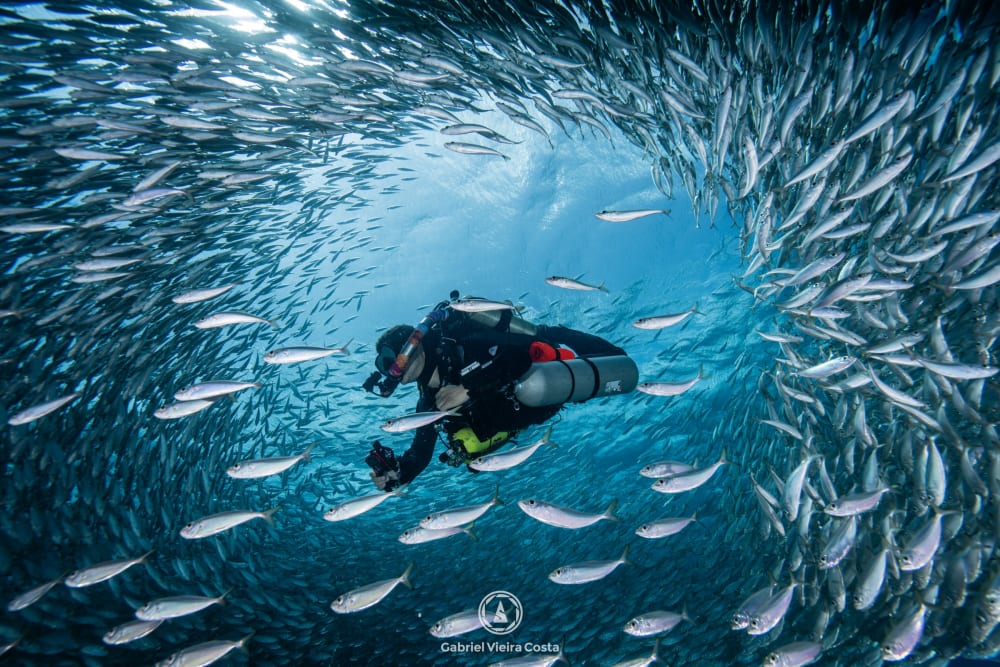
It is the first adjustment and the one that changes the photo most. Water pushes everything toward green and blue, so Tint almost always goes toward magenta. It goes much further in wide angle, where there is more water between the lens and the subject.
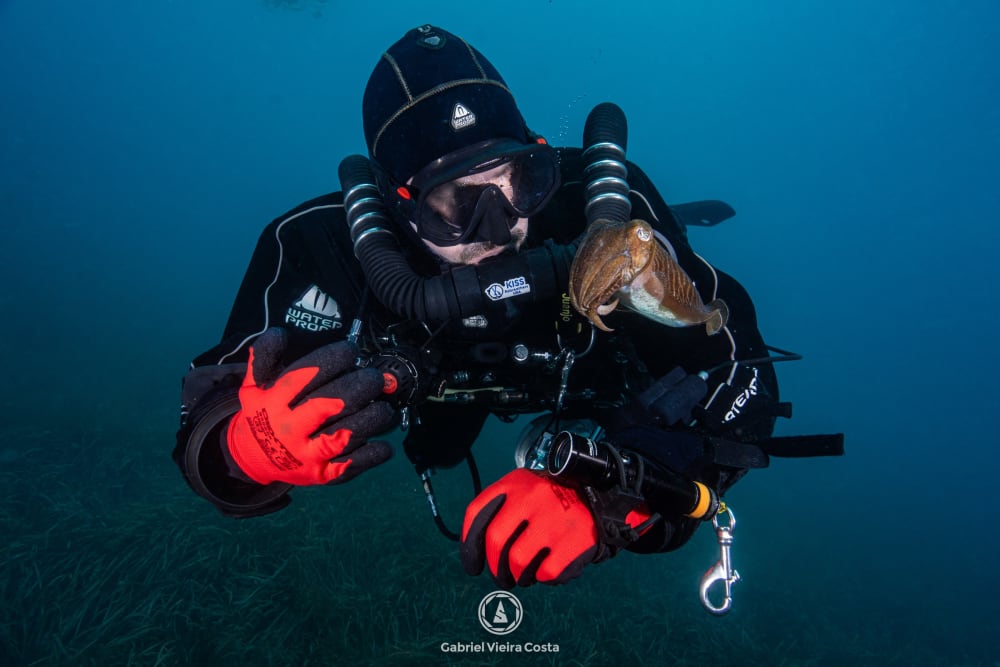
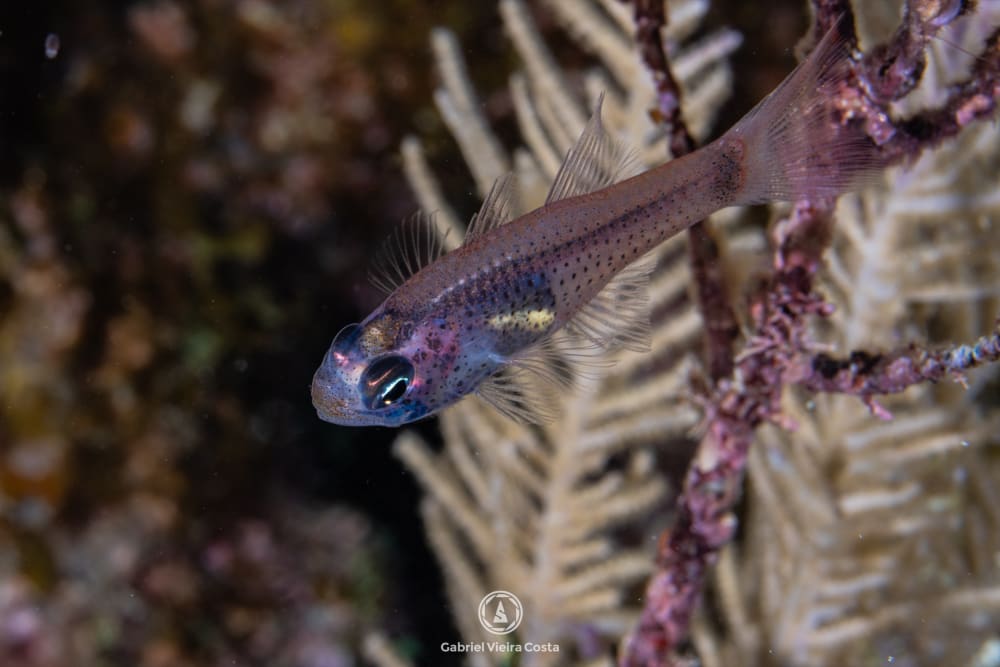
In macro with strobes, the light travels through very little water and already has daylight color, so the values stay close to neutral. Don't copy a number: understand the direction.
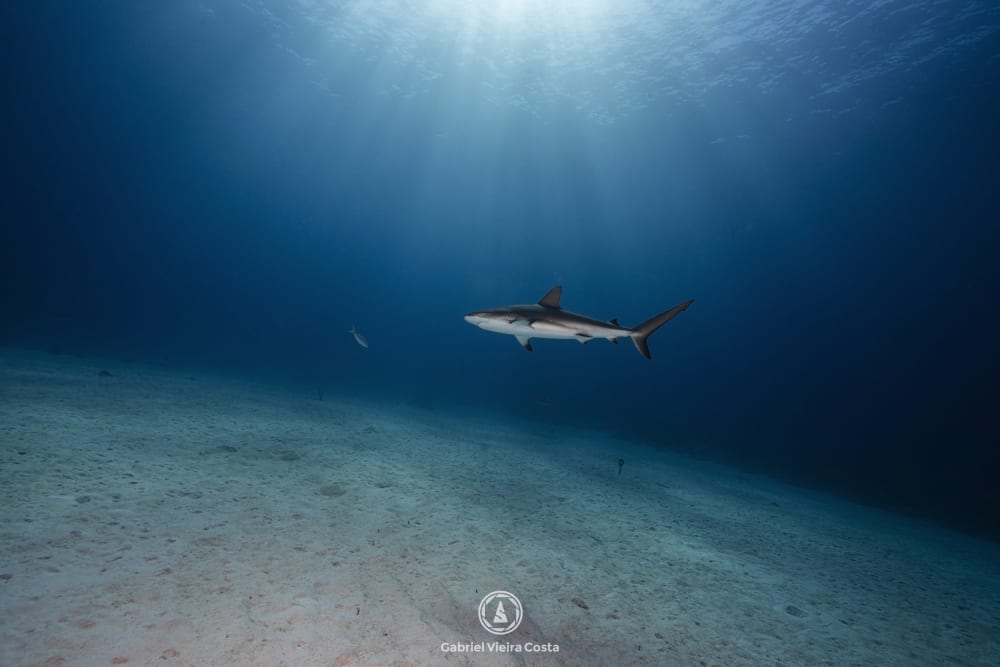
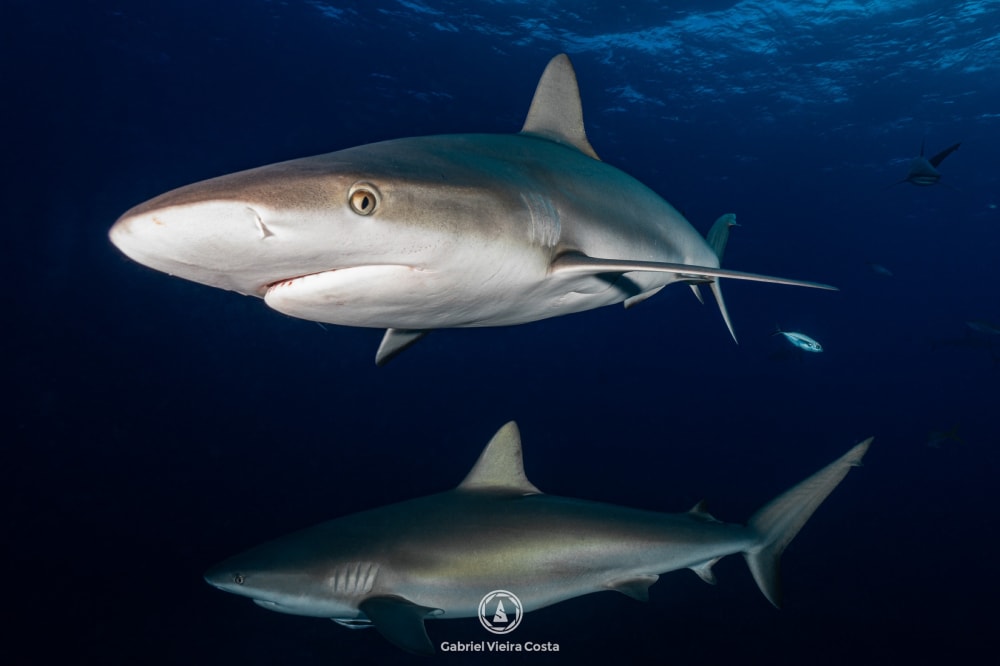
Blue-water photos without a strobe are the hardest. The red channel of the file is nearly empty, and you can't invent what was never recorded. When the photo turns gray and washed out, you went too far. Back off a little and accept that some of the water stays blue.
Light: hold the brights first
The secret is in Highlights and Whites, which go down in almost every photo of mine. Underwater, the bright areas are what blow out: the surface, the sand, and whatever was close to the strobe.
With the brights under control, open the Shadows to recover the dark areas and use Contrast to add body. One opens, the other tightens. If the photo looks gray, you opened too much and tightened too little. Blacks almost always stay where they are: Contrast gives you the black.
Clear the haze, then work on color
Water behaves exactly like haze, and Dehaze exists for that. But it darkens and saturates, so it comes after white balance and light. Texture and Clarity add detail. A heavy hand here blotches the sun and creates halos: start light and look at the whole photo.
When I measured the settings on more than two thousand of my photos, Saturation had almost never left zero. Strong color comes from the right white balance and from Contrast. The Saturation slider pushes everything at once, including what it shouldn't.
If you want to change one color, change only that one, in the color panel. The Blue channel controls the water without touching the orange of a sponge. And keep the same water across the whole series: edit the best photo from the dive, copy the settings to the others, and refine them one by one.
Finishing: backscatter, noise, crop, and export
A mask is the last resort, not the first. When I use one, it is to hold back the brightness of the surface, darken the bottom a little, or give the animal a subtle lift.
- Backscatter: view the photo at 100% and clean up the specks, starting with the smooth areas of blue. I run my strobe photos through BackscatterXTerminator, a paid Photoshop plugin. If you shoot few photos with strobes, the remove tool does the job.
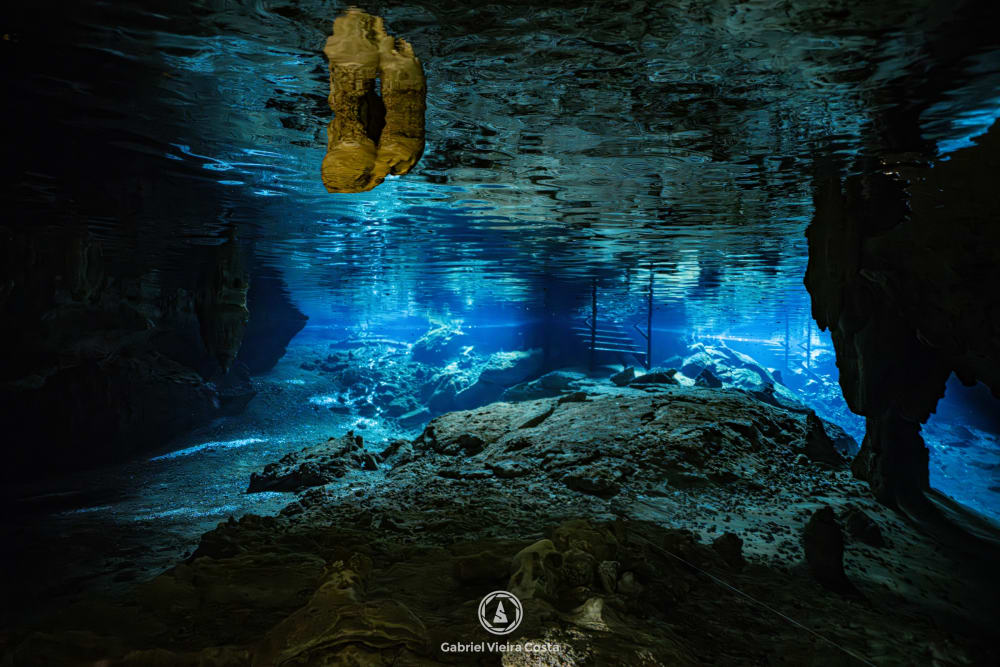
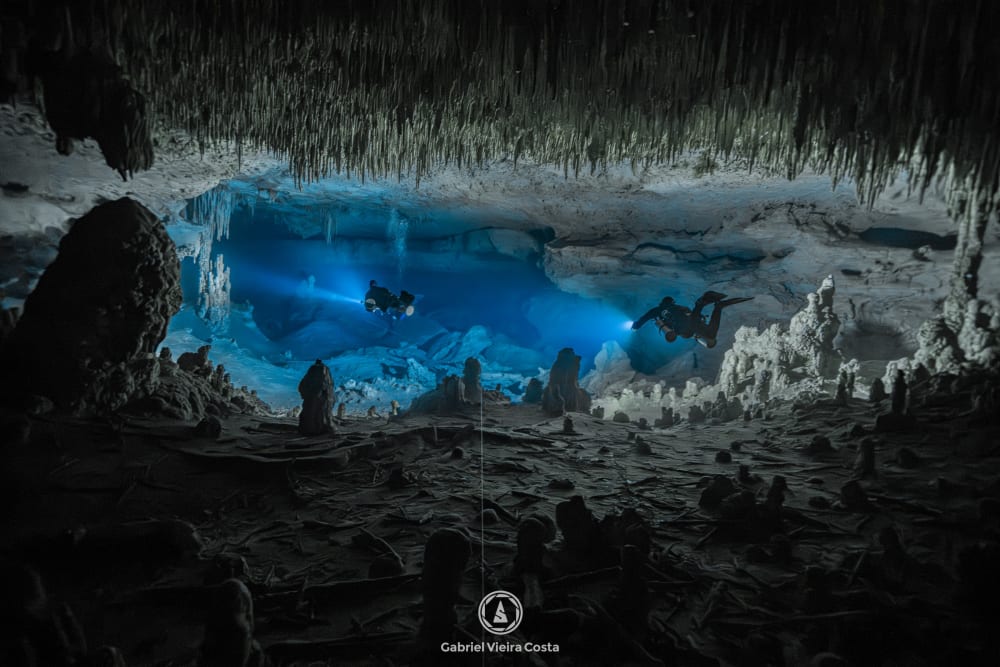
- Noise: at very high ISO, as in caves, I run AI noise reduction before any other adjustment.
- Crop: to improve, never to rescue. Leave space in the direction the animal is looking and straighten the horizon.
- Export: JPEG in sRGB for screens, full resolution in Adobe RGB for print.
When a photo doesn't work, go back to step one. The problem is almost always in the white balance.
By Gabriel Vieira Costa, underwater photographer, World Top 10 at 35AWARDS 2025 and 2026 and SDI/TDI Instructor Trainer.