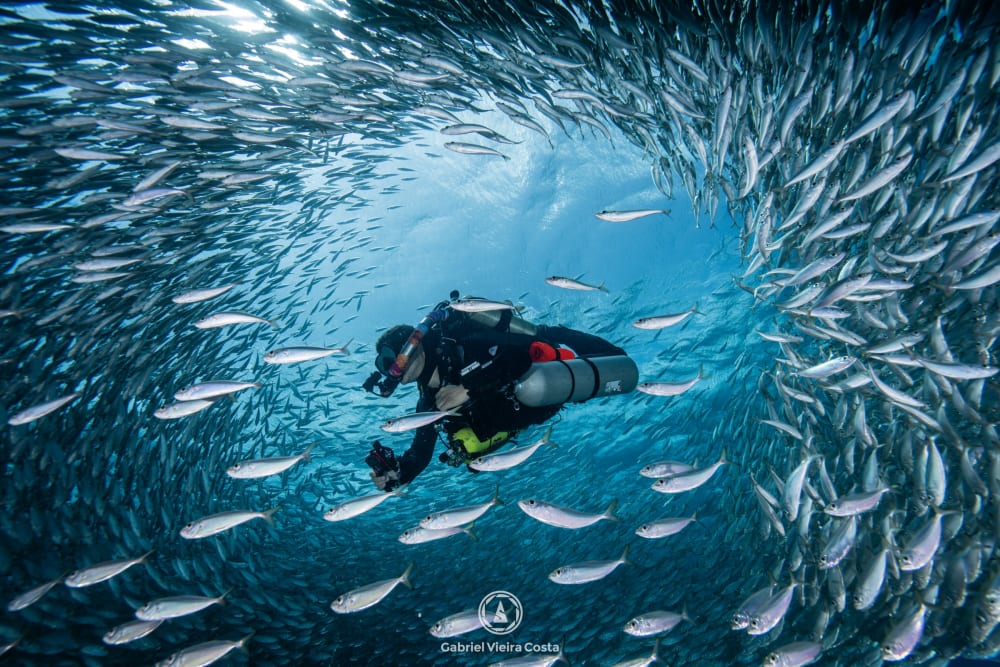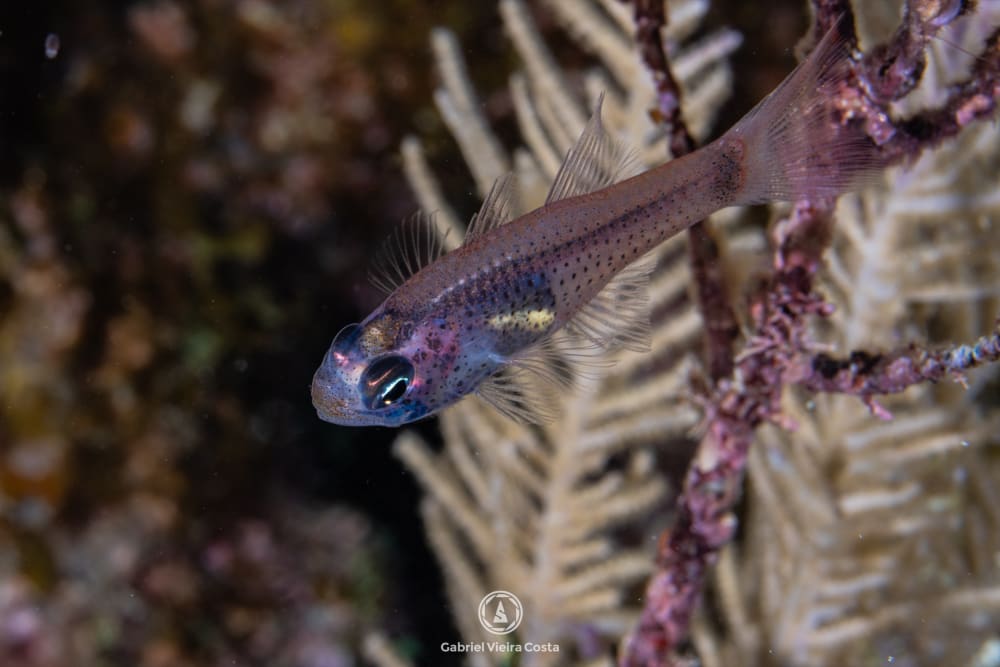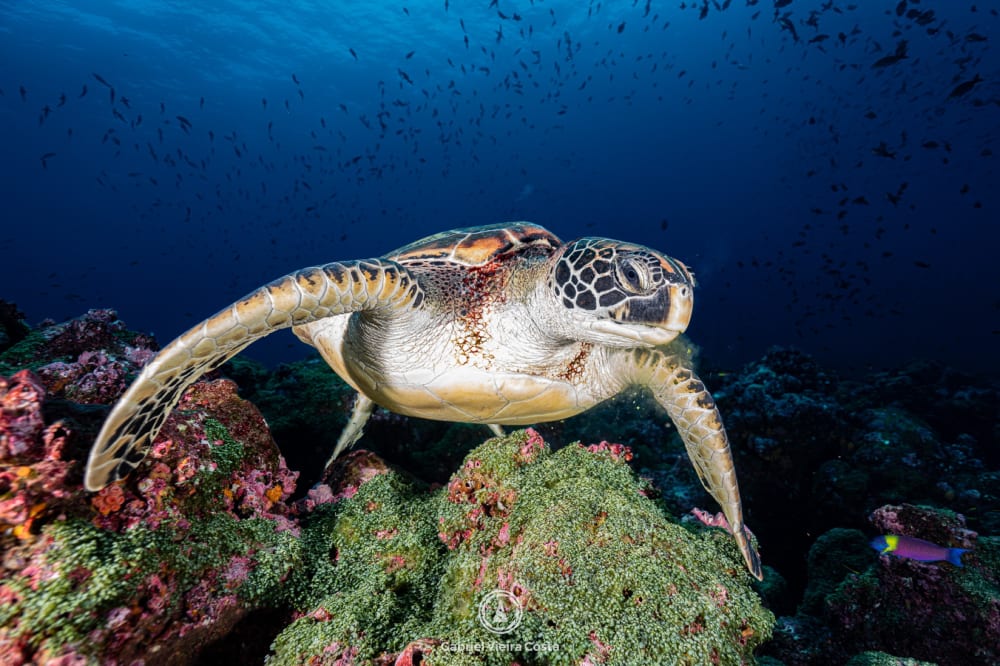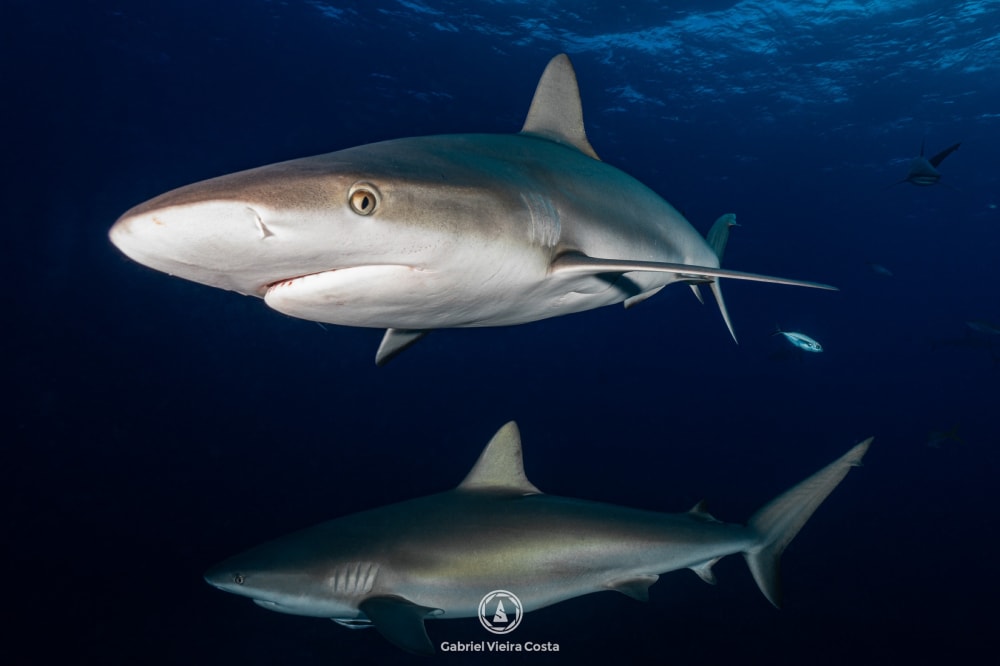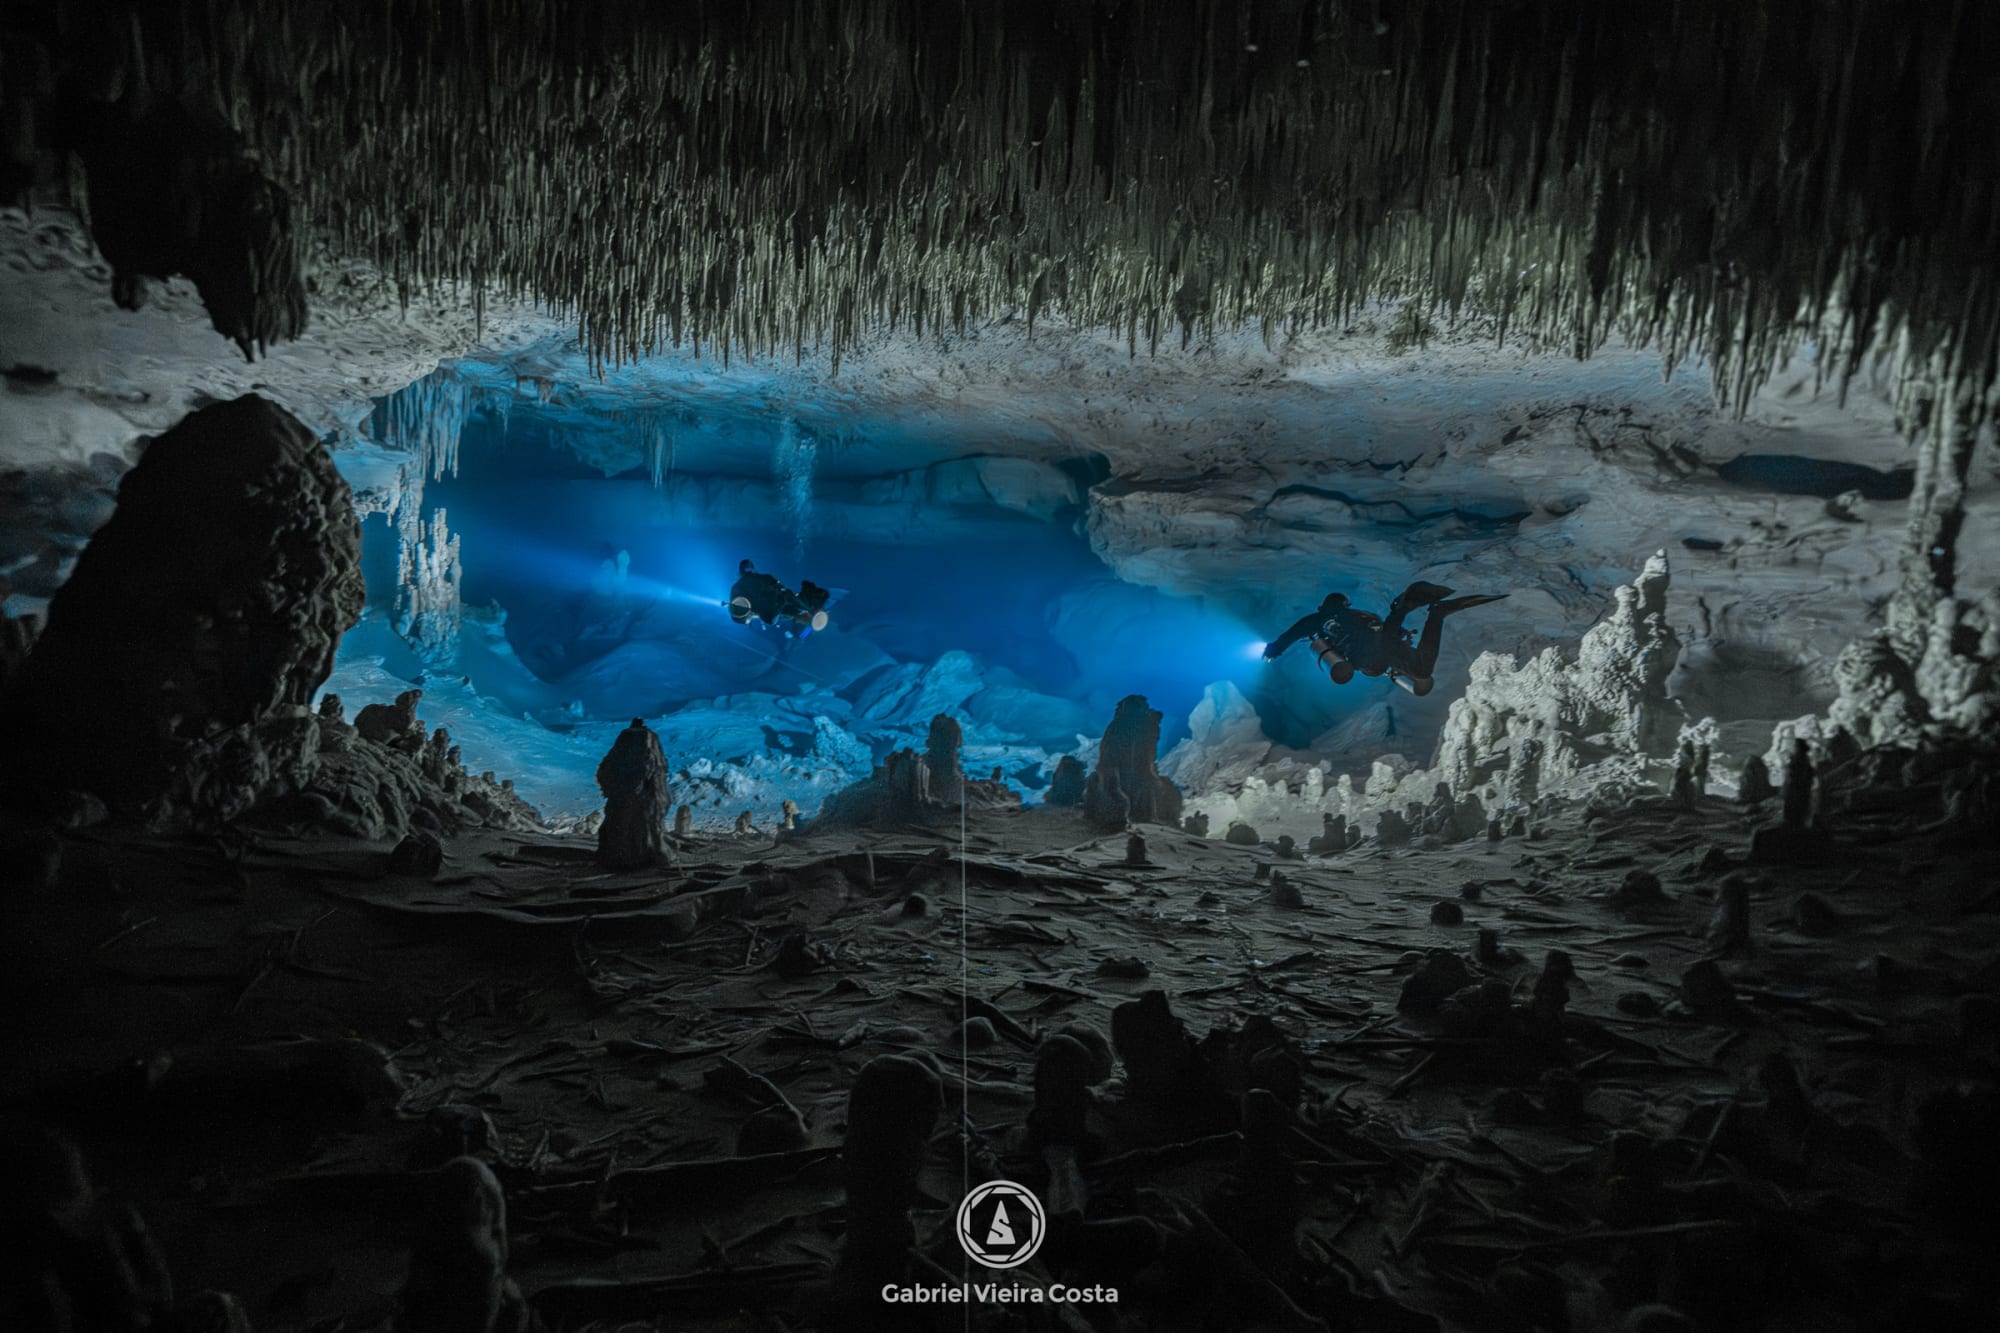
First of all: who can shoot where
This guide does not teach cave diving, and no text replaces the course. I am an SDI/TDI Instructor Trainer and I take this warning seriously: to take a camera into a cave, you need a cave certification and real experience with it. First the cave, without a camera. Then the camera.
A cenote has two environments. In the daylight zone, also called the cavern zone, the sun still reaches in and the exit stays in sight: with a cavern certification and a guide, you can already make many good photos. In the cave, past the stop sign, the only light is the light the team brought.
The photo fits into the dive plan, never the other way around.
In a cave, the photo comes later. First the gas, the line, and the exit.
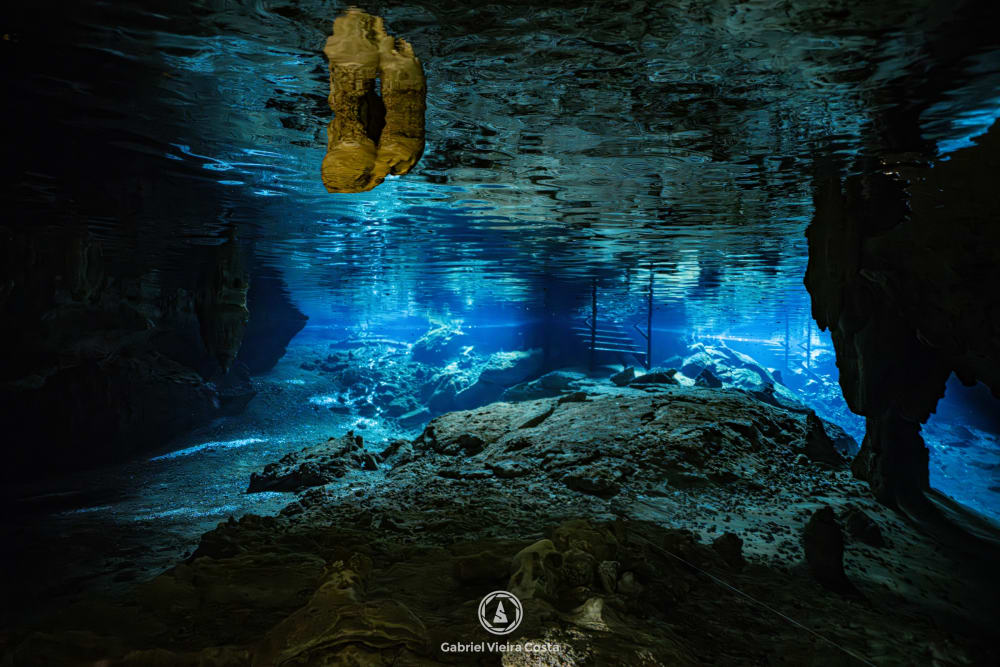
The daylight zone: sunbeams in the cenotes
In the daylight zone, the sun does the light assistant's job: its beams draw lines in the water.
- Go when the sun is high, close to noon.
- Shoot from the inside toward the entrance, against the light.
- Use a low ISO and a fast shutter speed.
- Let the diver cross the beam.
Camera and lens: what matters
More important than the camera model is knowing how far its ISO can go. Test it at home, in the dark, raising the ISO up to the last result you accept.
The lens is a wide angle behind a dome port. I use a 16-35 mm, almost always at 16 mm: I can stay close to the diver and still show the chamber.
The housing stays clipped to your body, with nothing dangling that could snag the line.
Exposure in the dark: shutter, aperture, ISO
In the dark, I always set the three controls in the same order.
Expose for the light, not for the shadow: the beam of the dive light and the model's lit face are the first things to blow out. Trust the histogram and the highlight warning, not the screen.
- Shutter speed first, around 1/100 s. Slower than 1/60 s the photo starts to blur, and a blurred photo can't be saved.
- Aperture next: wider when light is short, more closed to keep the whole chamber sharp.
- ISO last, filling in whatever is missing. Noise can be treated in editing.
Continuous light, in the team's hands
I no longer use strobes in caves. I use continuous light: dive lights and video lights. It shows you, before the shot, what the camera will see, and whoever holds the light knows where it is pointing.
Use lights with the same color temperature and think in layers: one light near, one in the middle, one in the back, with darkness between them. The darkness is what gives depth.
- Backlight: the assistant stays behind the model, with the light aimed at the camera. The model becomes a silhouette with a rim of light.
- Scene light: the light paints a column, an arch, or a wall, and the model passes in front.
- Top light: a light fixed up high creates a cone of light over the model. Only in a place the team knows well.
Team and model
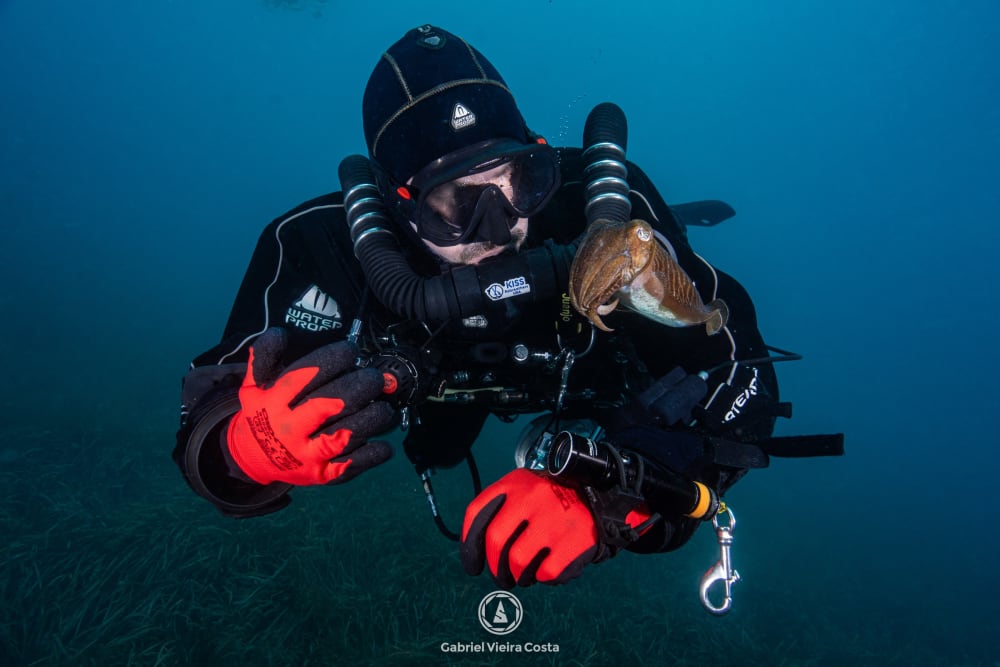
A good cave photo is teamwork: photographer, model, and light assistant. Three people is ideal, four at most. Everyone is a cave diver, and anyone can call off the photo for safety.
The model stays in horizontal trim, adjusts position with breathing, moves slowly, and keeps their eyes on the agreed spot.
Agree on everything at the surface, ideally with a sketch: route, time, and gas for each stop, positions, lights, and signals.
Composition: scale, lines, and frames
Small in the frame, the model shows the place. Large, the model becomes the subject.
- Scale: without a person, a cave photo is just rock.
- Lines: the guideline and rows of columns lead the eye to the diver.
- Frame: a dark passage or arch isolates what is lit in the middle.
- Reflection: the halocline works like a mirror. Shoot from below or above it, never inside.
Planning, silt, and rules that are not up for debate
Dive the site first, without a camera. Choose the photo stops and the time for each one. The gas for the photos goes into the plan, within the rule of thirds, without touching the reserve.
The clear water of a cave is fragile. The photographer goes in front, and nobody touches the floor, the walls, or the ceiling. If visibility drops, stow the camera and follow the plan.
- Do not dive beyond your certification.
- Stay close to the line and never lose your reference to it.
- At every stop, mark the exit direction on the line.
By Gabriel Vieira Costa, underwater photographer, World Top 10 at 35AWARDS 2025 and 2026 and SDI/TDI Instructor Trainer.