Why your photos come out blue and flat
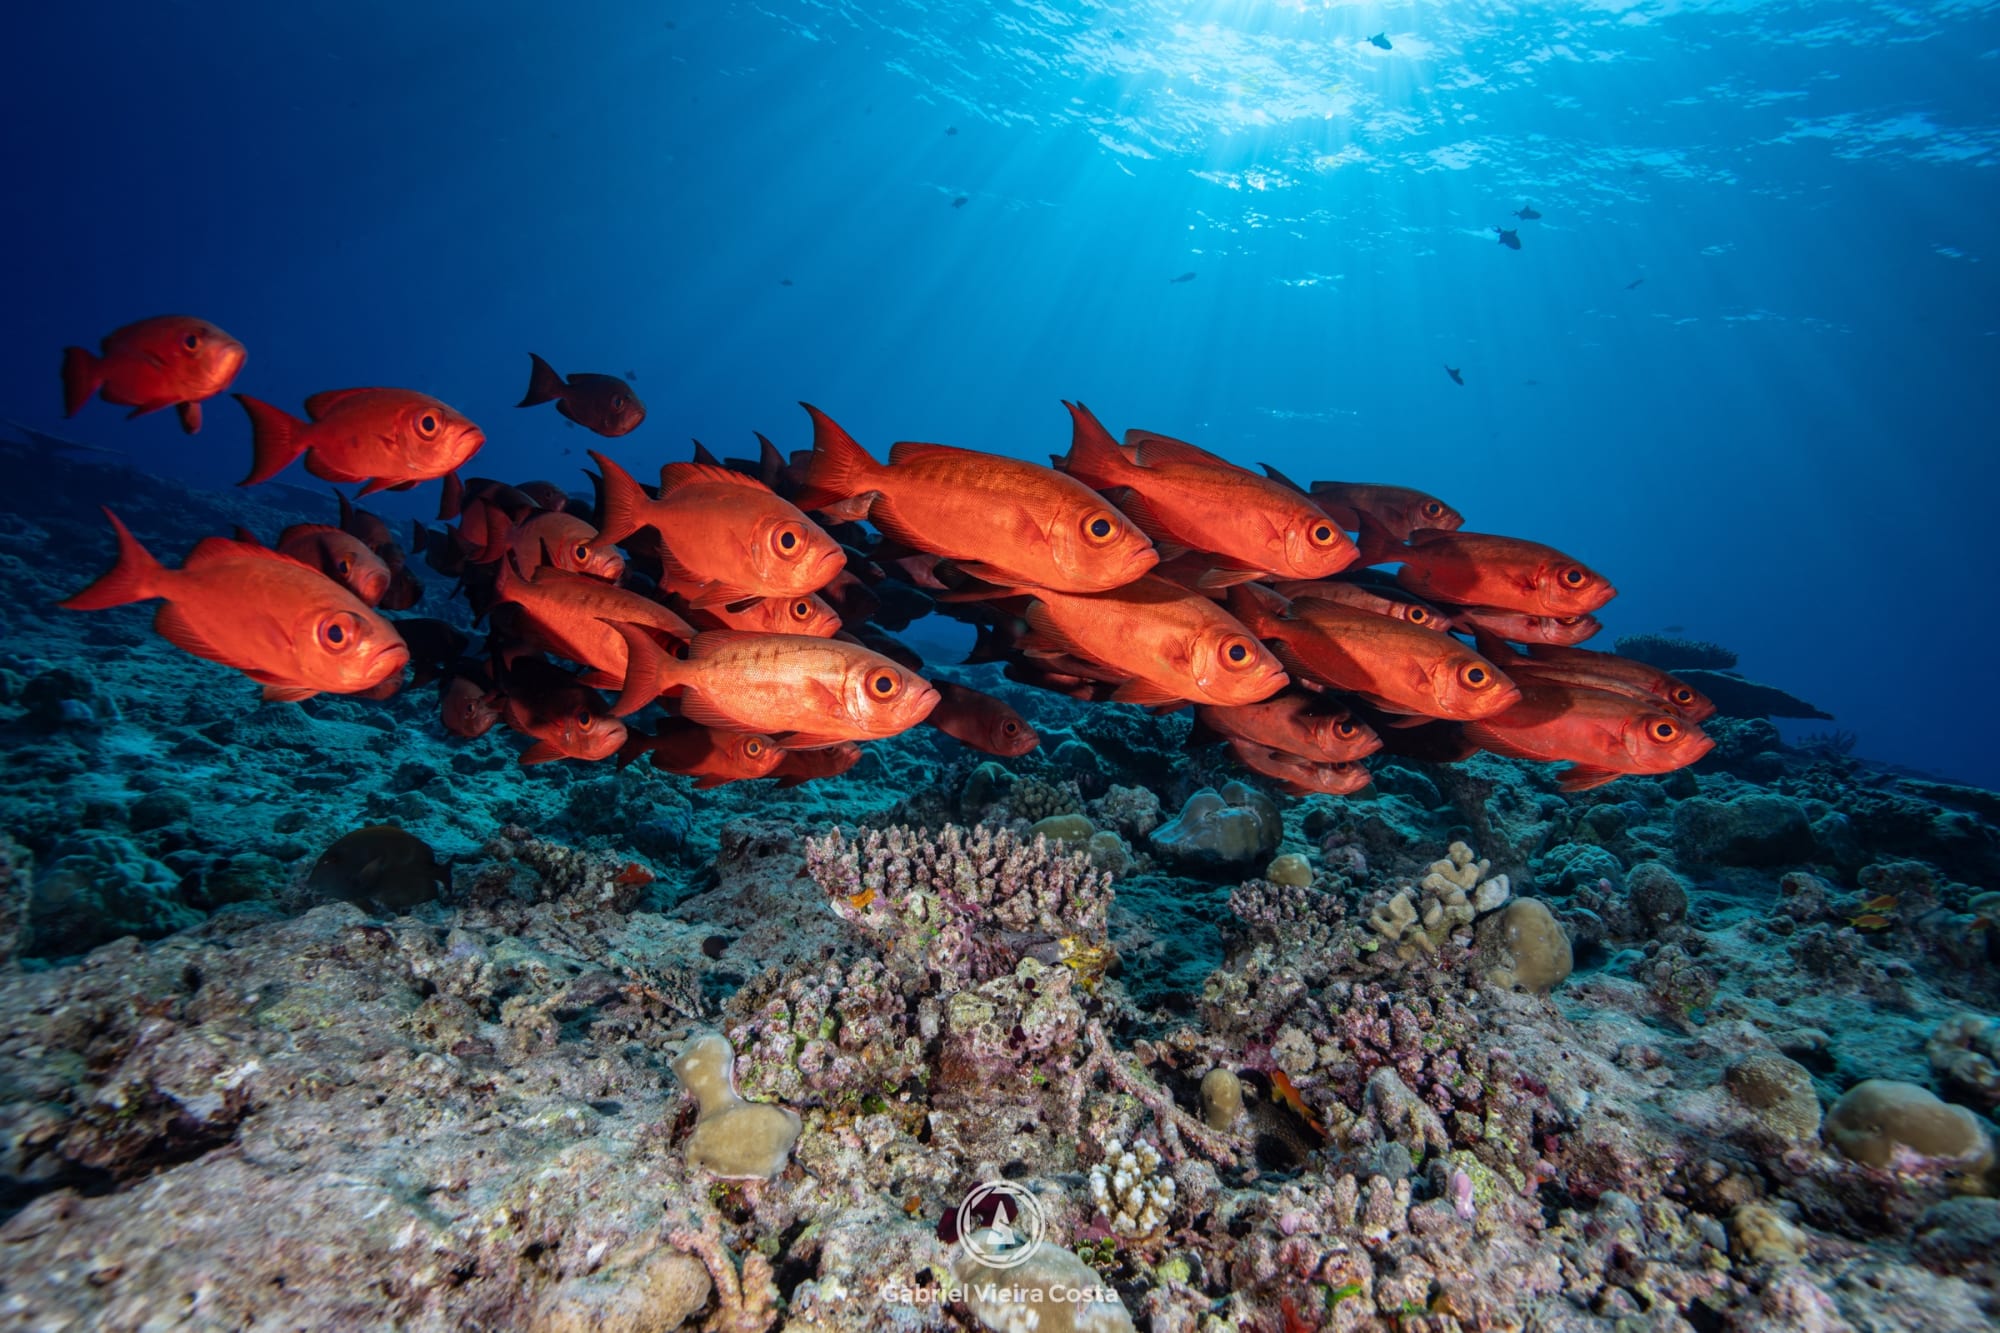
Water absorbs light selectively. Red and orange are gone within the first few meters. Blue is the last color to go. At ten meters (about 33 feet), a red fish looks brown, almost gray.
Your eyes and brain make up for part of that loss. The camera sensor doesn't: it records only the light that actually arrives. That is why the photo looks bluer and duller than your memory of the dive.
The loss happens in every direction: every meter of water between the lens and the subject also takes away color and sharpness. Almost everything in this guide comes from that idea.
It isn't a camera fault. It's physics. And it has a fix.
Step 1: Get close. Then get closer
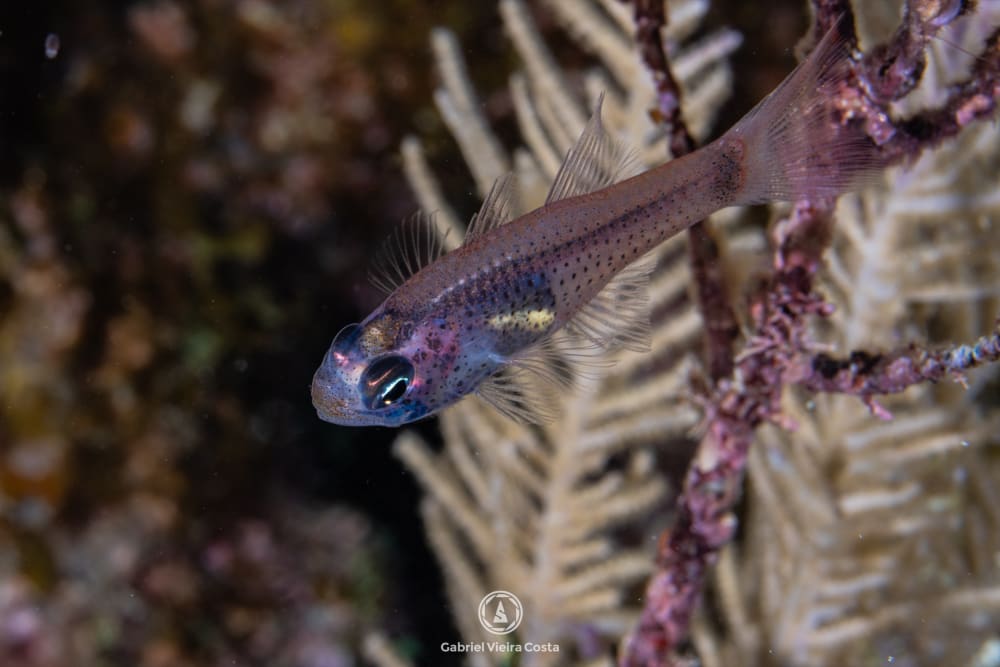
It is the most repeated rule in underwater photography, and the truest. Less water between the lens and the subject means more color, more sharpness, and fewer particles in the photo.
Underwater, the right distance is measured in hand spans, not in meters. Move in slowly, without touching anything, and pick subjects that let you come close.
Step 2: Shoot from below, looking up
The natural beginner mistake: the reef is below you, so the photo is taken from above and the subject blends into the background.
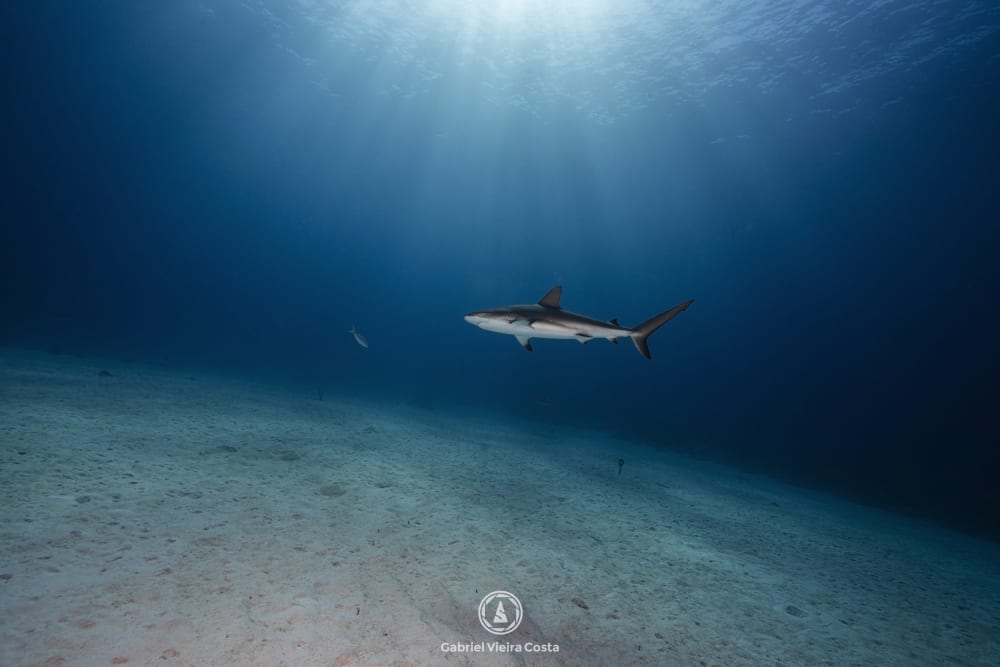
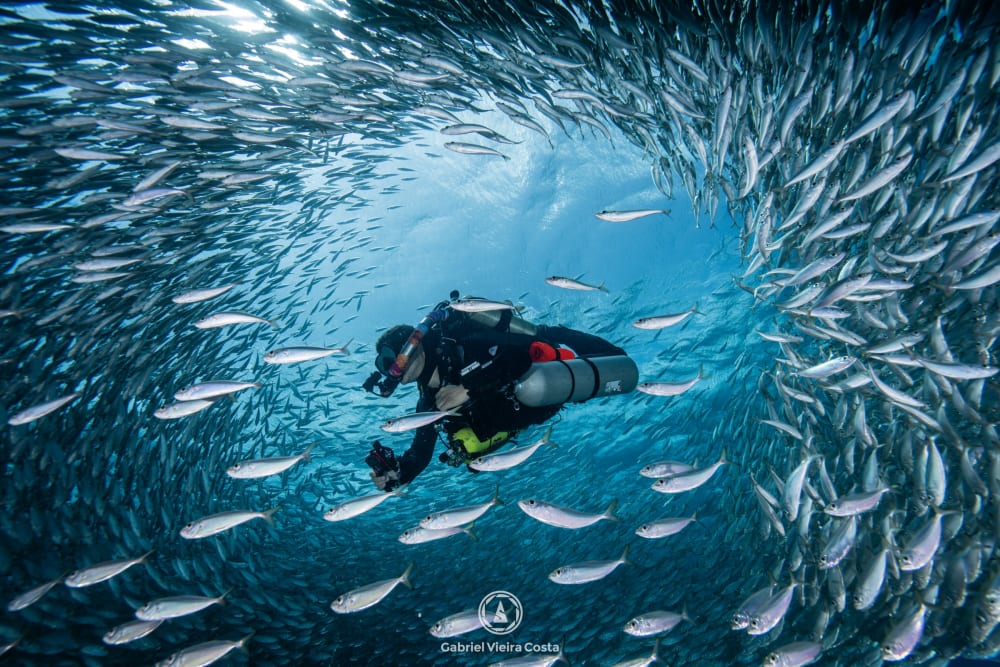
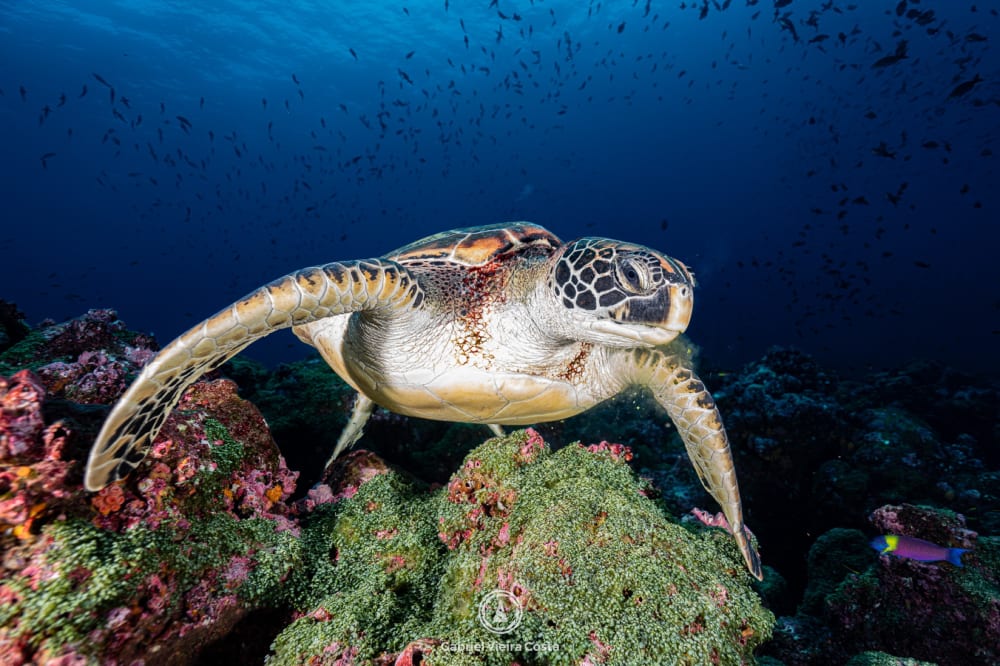
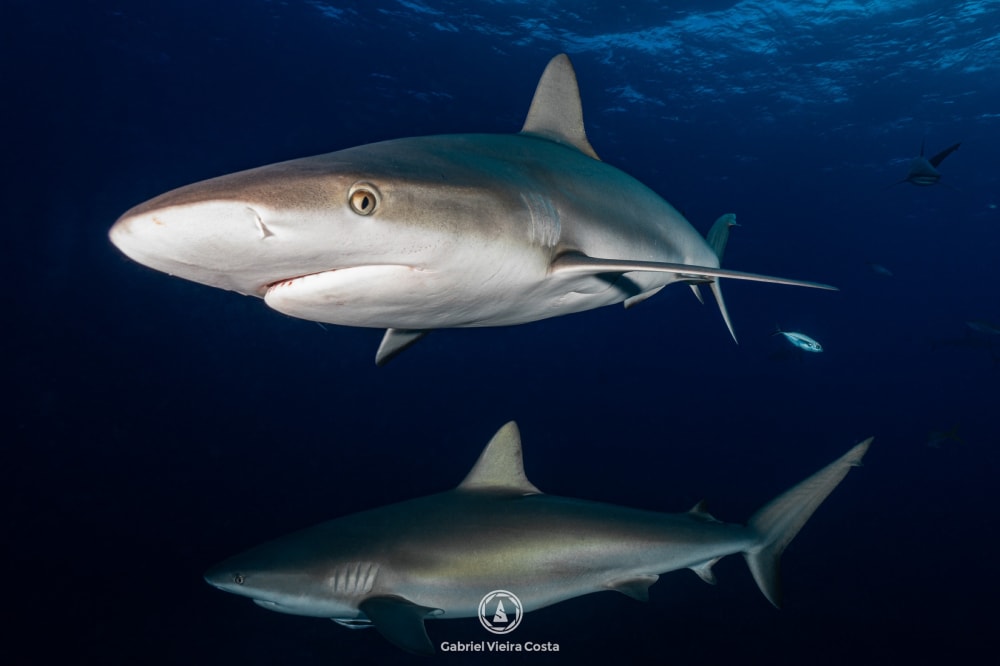
Go down, get below the subject's line, and tilt the camera slightly up. Now the subject stands out against open water, with a clean background and more contrast. It works for a manta ray and for a fish ten centimeters long.
Step 3: Focus on the eye
In animal photos, if the eye is sharp, the photo is in focus. Missed focus is the one flaw editing can't fix.
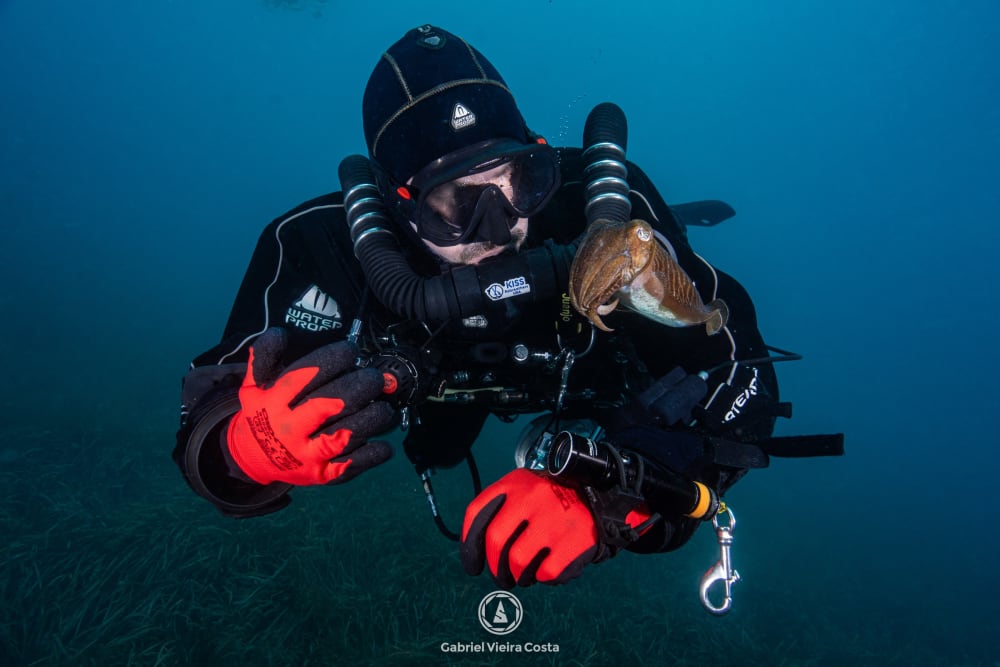
- Get to the animal's eye level, never above it.
- If your camera allows it, use a small focus point and place it on the eye.
- Wait for the animal to look at the lens.
Step 4: Make the light work for you
Without a strobe, the sun lights your photo. It does the most for you in shallow water, when it is high in the sky and coming from behind you.
In those conditions, a manual white balance or a filter brings back much of the color. Or flip the game: get below the animal and point toward the sun. The animal becomes a silhouette, and a silhouette needs neither color nor a strobe.
With a strobe or a video light, the light travels to the subject and back to the lens, so distance counts twice. Artificial light only works up close.
- Stay shallow: down to about ten meters (33 feet).
- Dive with the sun high, between 10 a.m. and 2 p.m.
- Keep the sun at your back, lighting the subject.
Step 5: Hover before you shoot
Dive well first, photograph second. The camera takes up your hands and almost all of your attention. If you are still fighting your buoyancy, you will fight the photo and the environment too.
Practice holding still, without moving your hands or fins. A pool drill: hover a hand span above the bottom for one minute without using your hands. And every time you change subjects, check your air, depth, and time.
Don't touch, don't chase, don't stir up the bottom. No image is worth a broken coral.
Phone, action camera, compact, or mirrorless?
The five steps work with any camera. What changes is how much control you have.
The best camera is the one you know how to use. And before you upgrade the camera, it almost always pays more to invest in light.
- Phone in a housing and action cameras: they work in auto. What changes the photo is getting very close and using a filter or a video light.
- Compact: manual mode, RAW, and room for an external strobe.
- Mirrorless or DSLR: large sensor, fast focus, and full control, with more cost and bulk.
A composition tip and three missions for your next dive
One simple composition bonus: move the subject off center. Turn on the rule-of-thirds grid, place the animal's eye near one of the intersections, and leave open water in front of it.
To practice, take a single mission on each dive.
- Half the distance: pick a subject that stays put and shoot closer and closer.
- Only from below: no photos with the bottom behind the subject.
- One look: one animal, the eye in focus, looking at you.
By Gabriel Vieira Costa, underwater photographer, World Top 10 at 35AWARDS 2025 and 2026 and SDI/TDI Instructor Trainer.